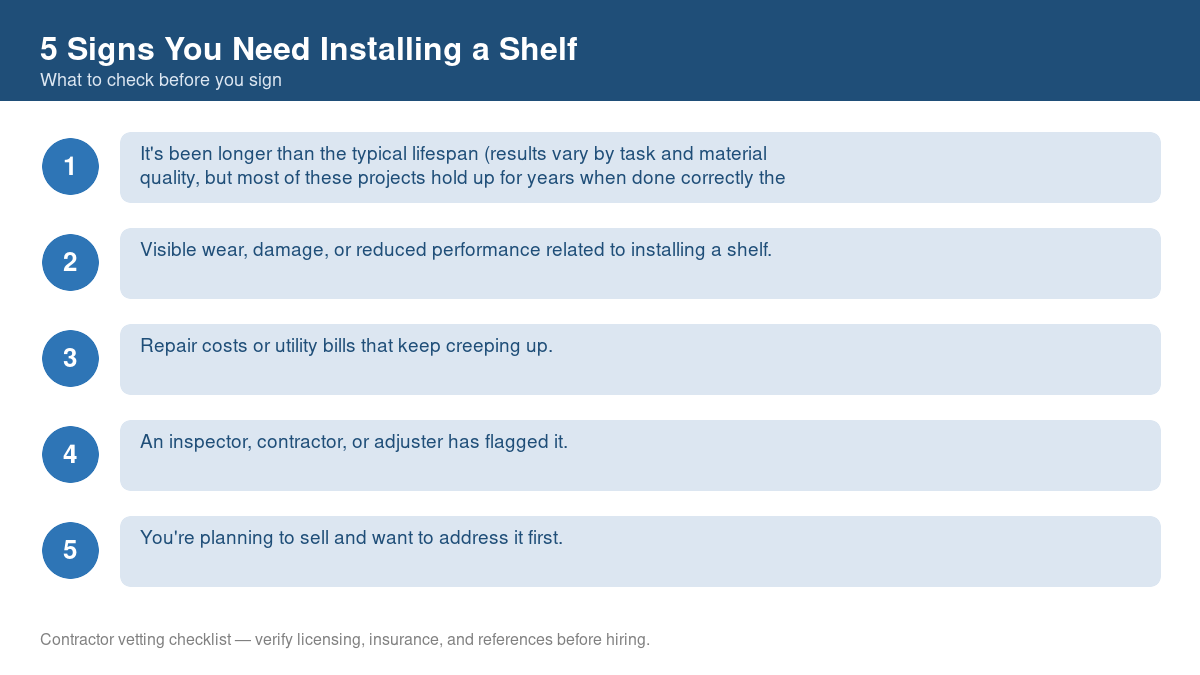
Most tasks in this category are well within reach for a homeowner with basic tools and patience. The goal is doing them safely and correctly the first time. Whether you're planning a single repair or a full project, this guide covers what diy & tools work typically costs, how the process works from first call to final walkthrough, and how to hire a contractor you can trust with the job.
We've put together 91 in-depth guides covering specific diy & tools topics. Cost breakdowns, step-by-step DIY instructions, hiring checklists, and more. Linked below. This overview page pulls together the big picture: what to budget, what to expect, and the questions worth asking before you sign a contract.
What This Typically Costs
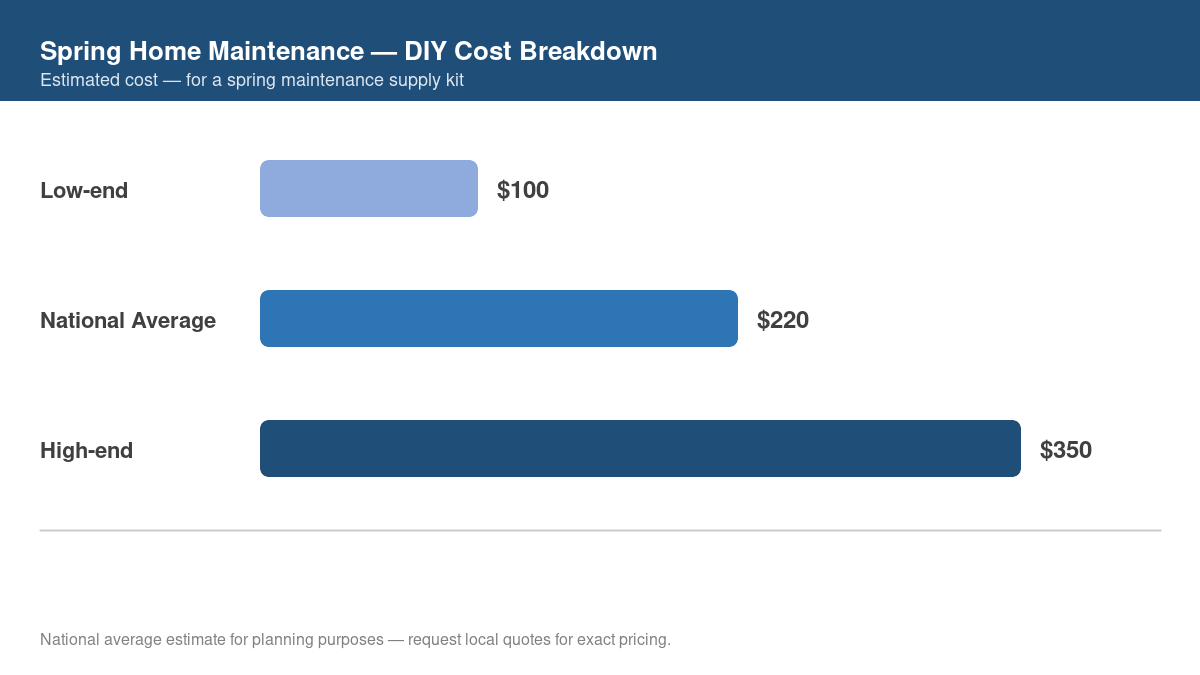
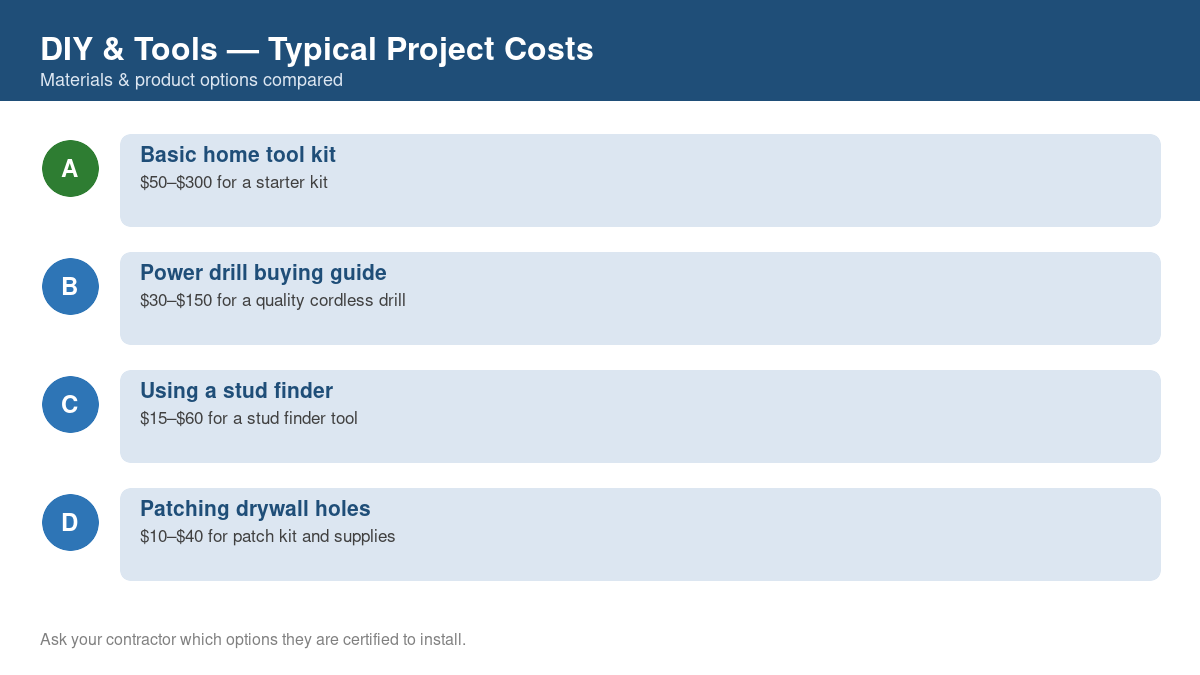
Pricing across diy & tools projects varies widely depending on scope. A small repair costs far less than a full replacement or installation. Here's a snapshot of typical national-average pricing across the most common diy & tools projects homeowners search for:
Typical Pricing by Project
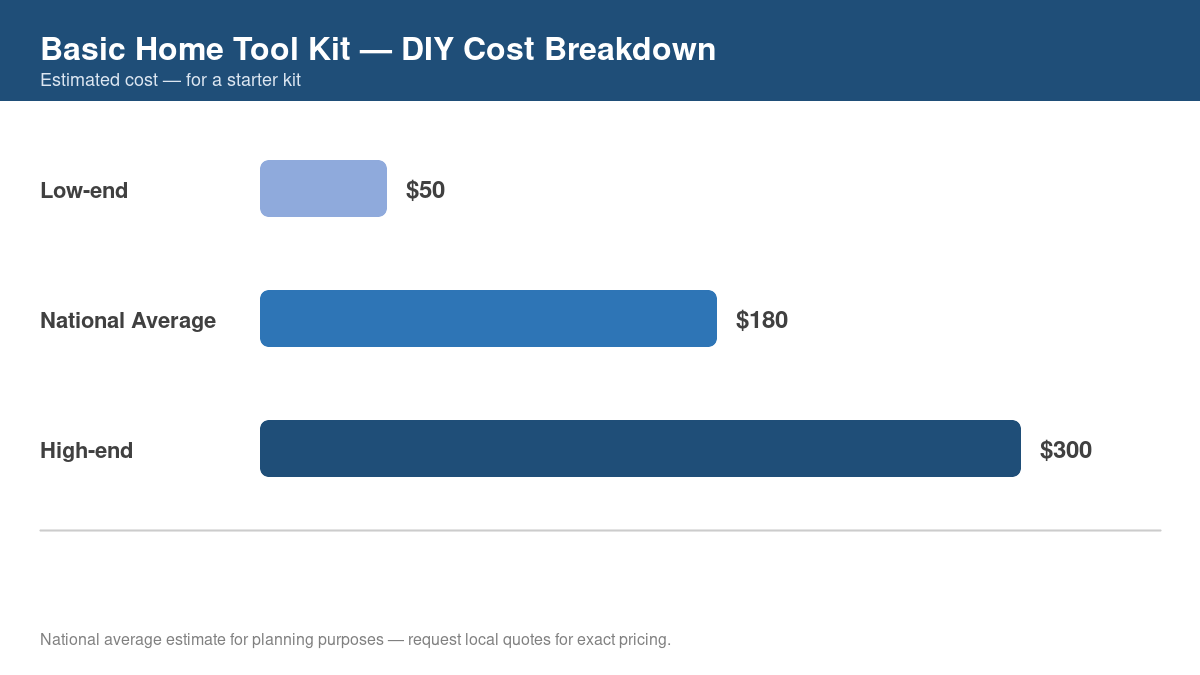
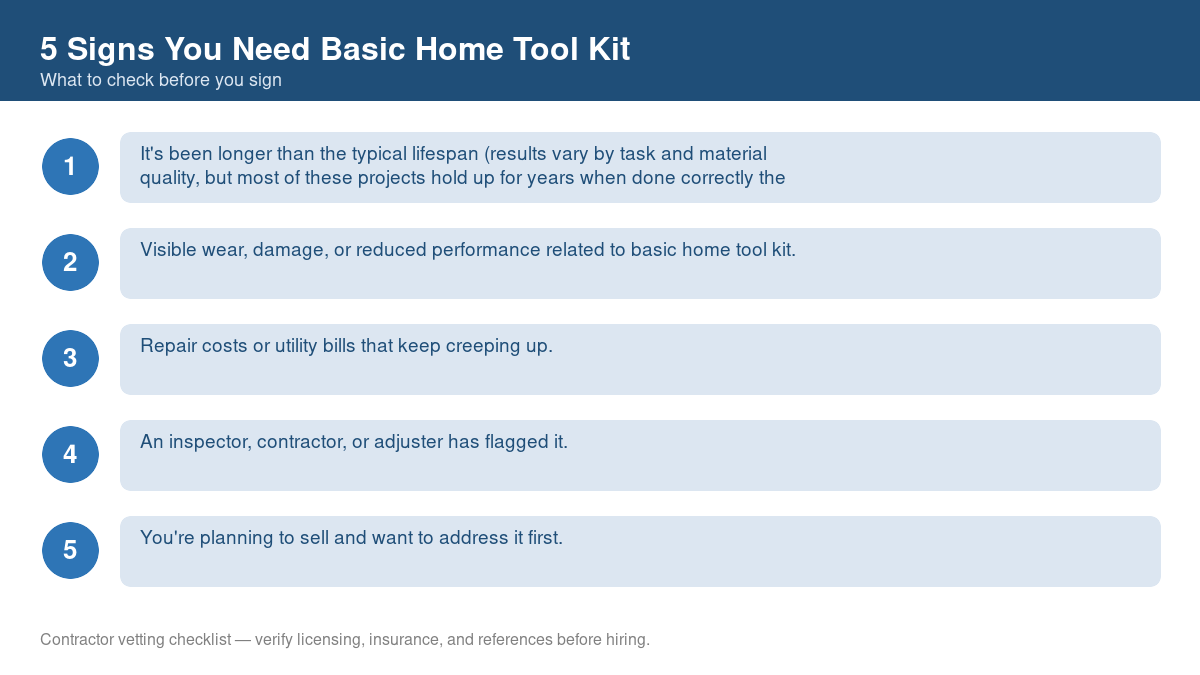
- Basic home tool kit: $50–$300 for a starter kit.
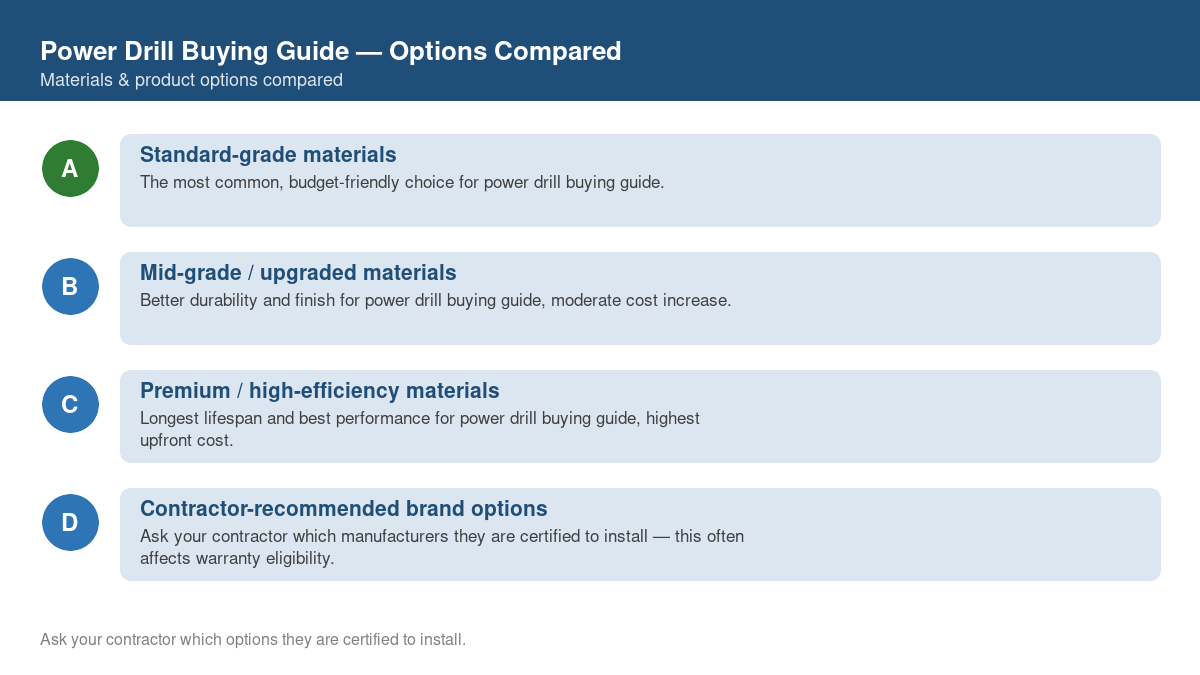
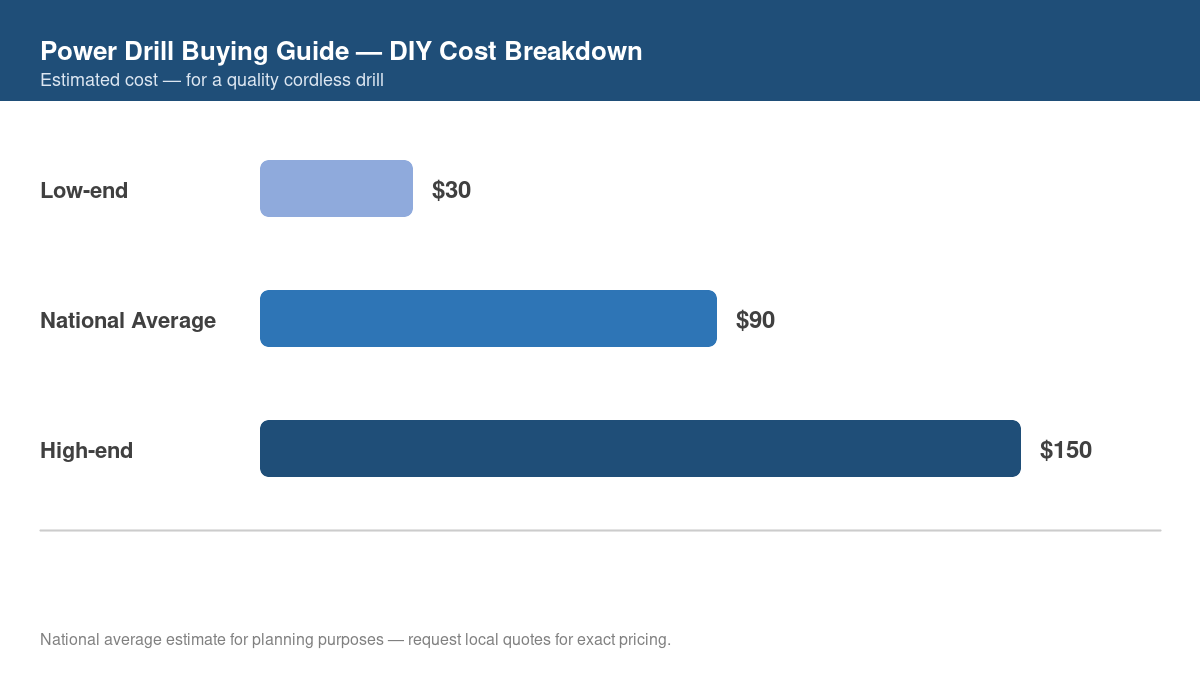
- Power drill buying guide: $30–$150 for a quality cordless drill.
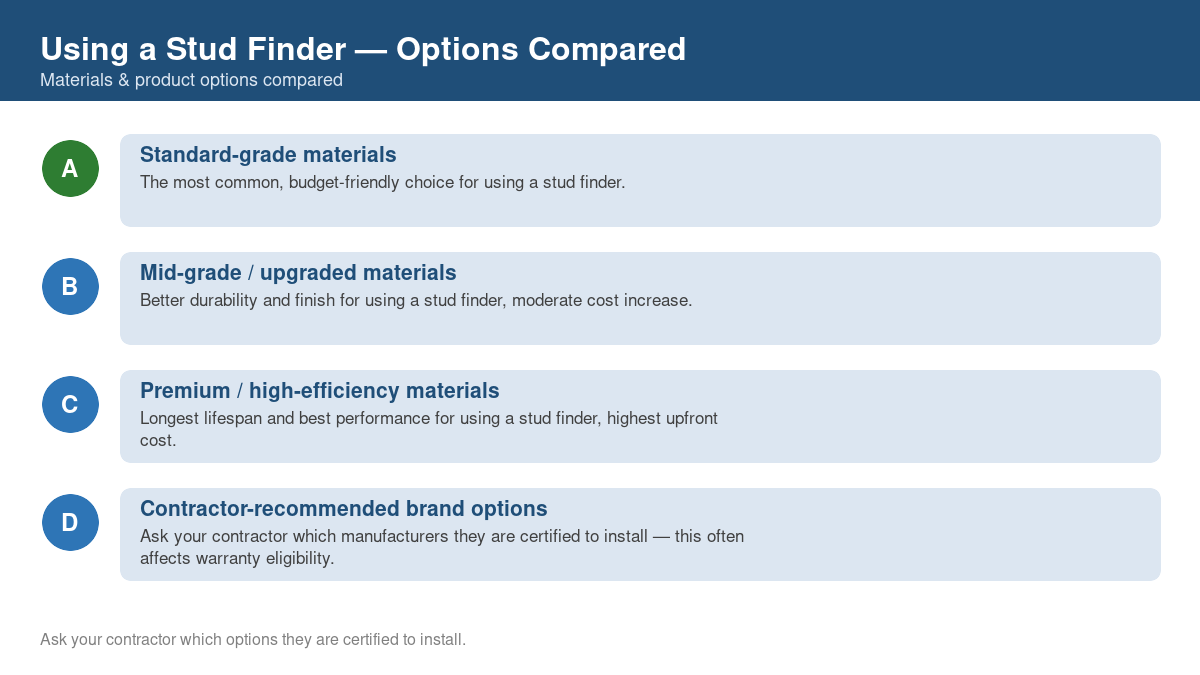
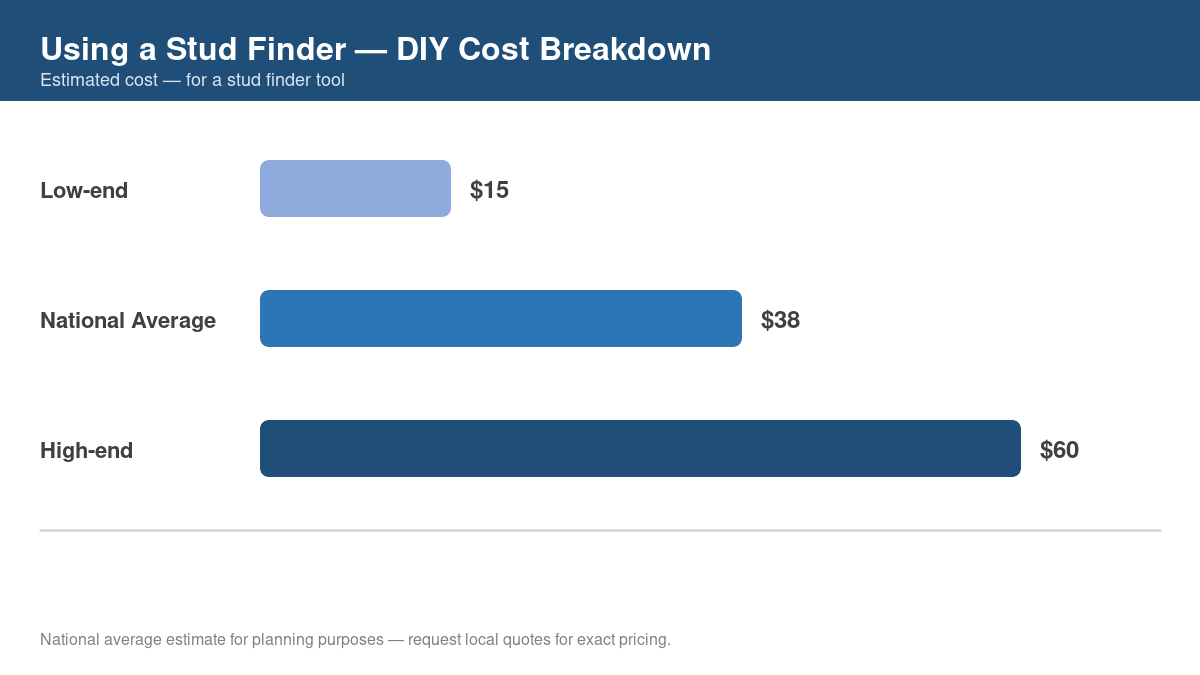
- Using a stud finder: $15–$60 for a stud finder tool.
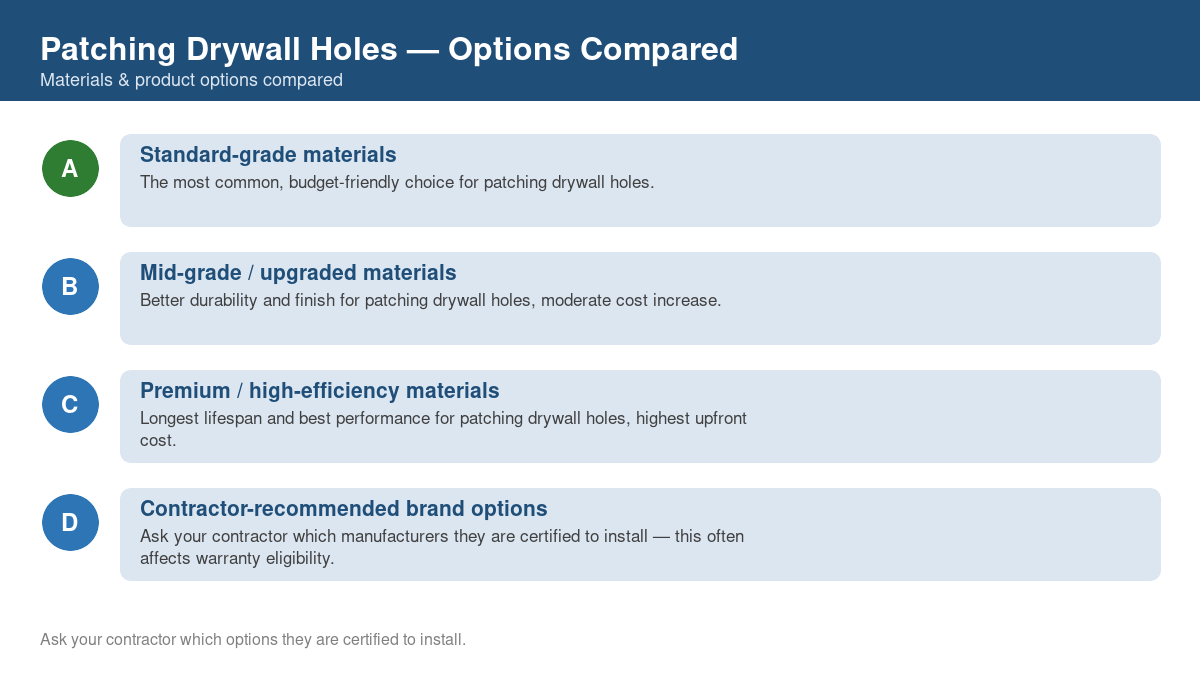
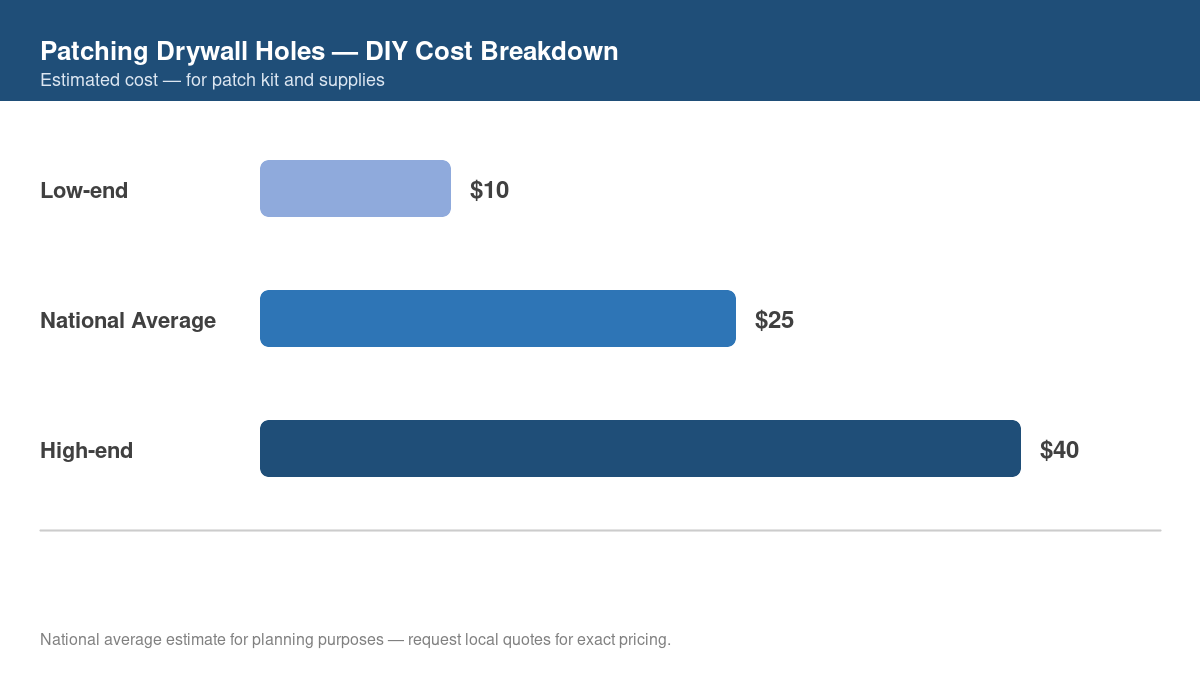
- Patching drywall holes: $10–$40 for patch kit and supplies.
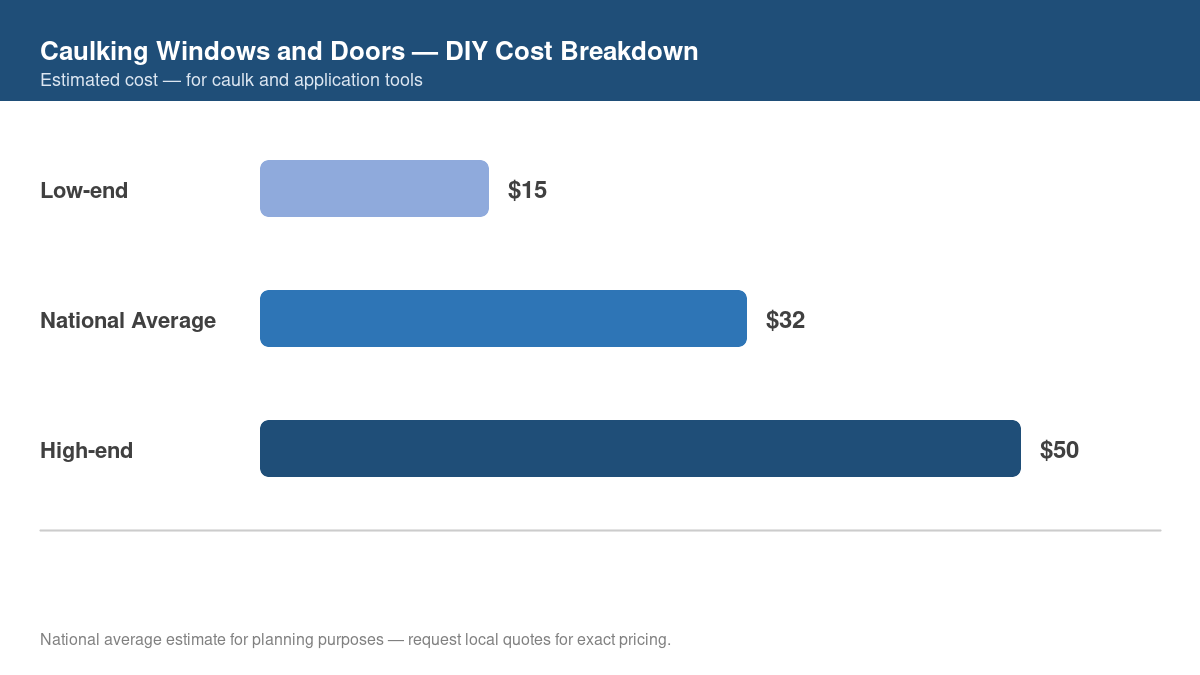
- Caulking windows and doors: $15–$50 for caulk and application tools.
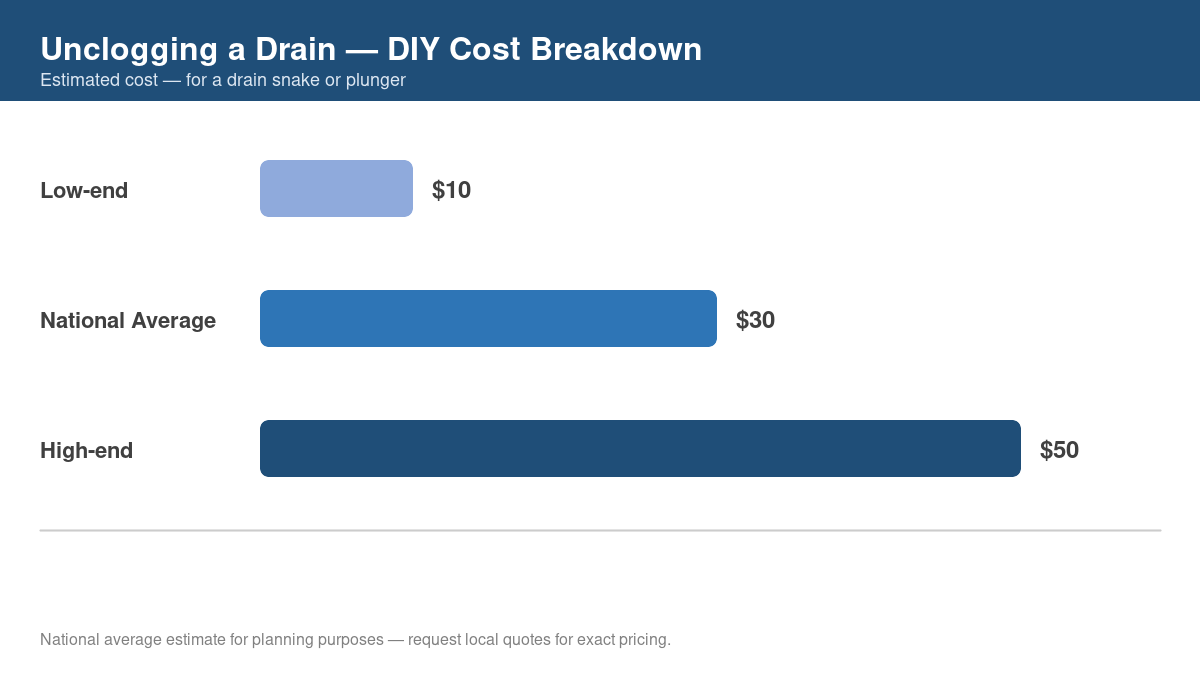
- Unclogging a drain: $10–$50 for a drain snake or plunger.
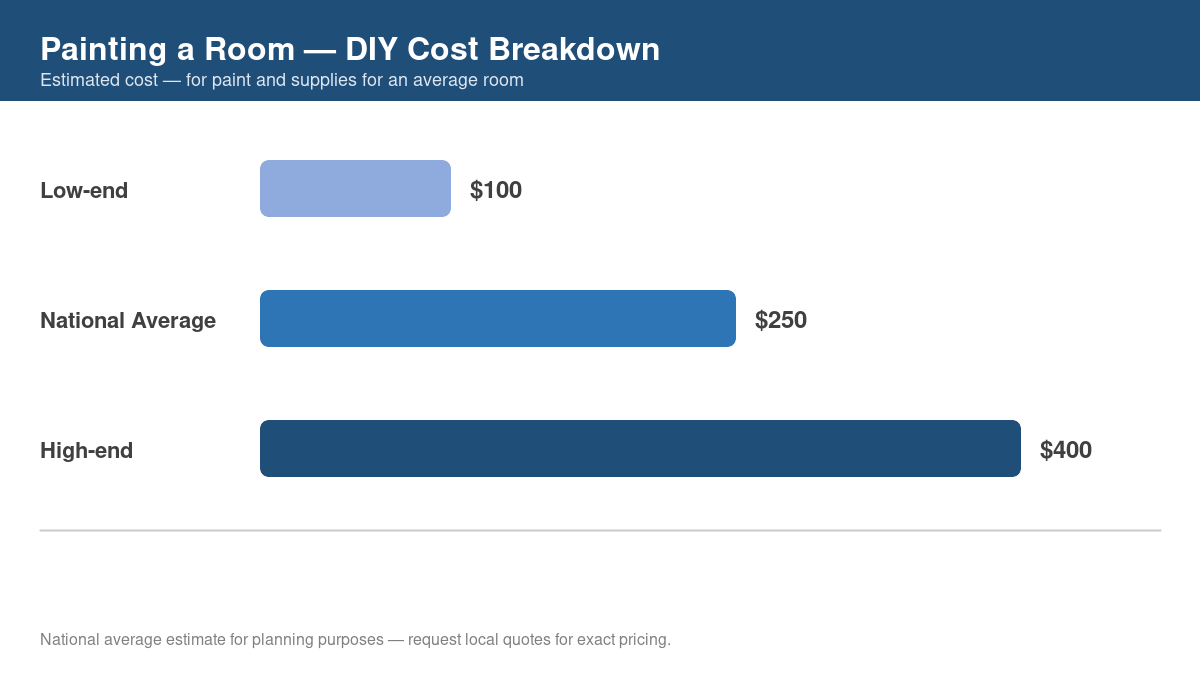
- Painting a room: $100–$400 for paint and supplies for an average room.
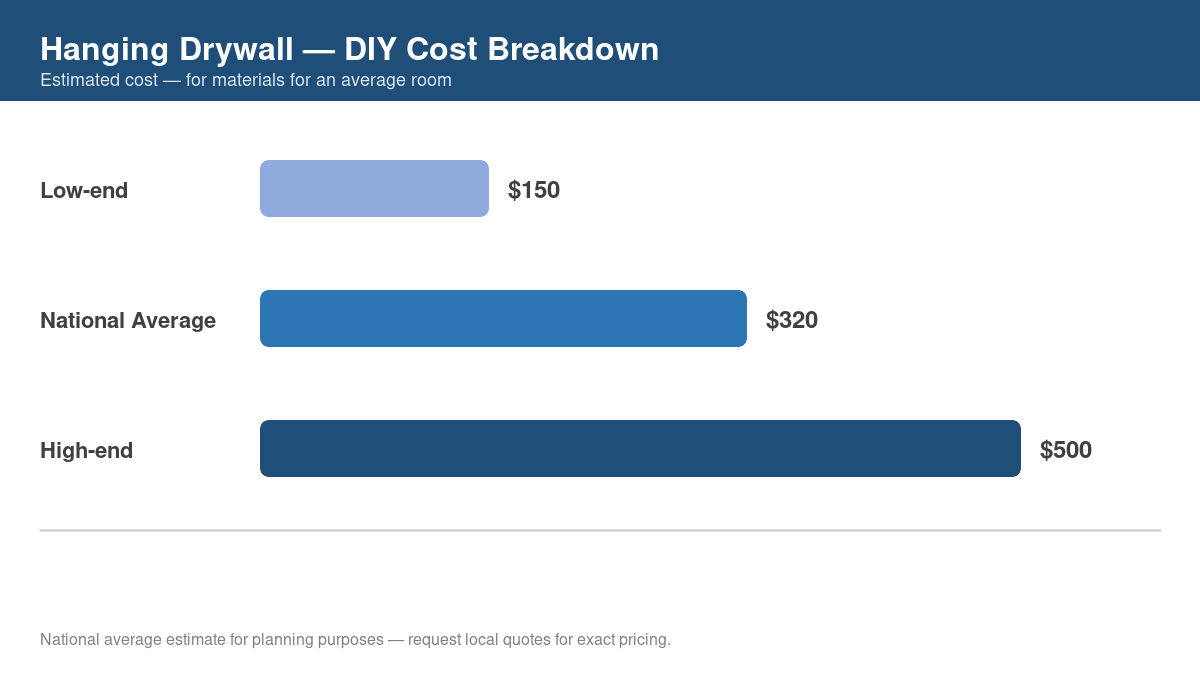
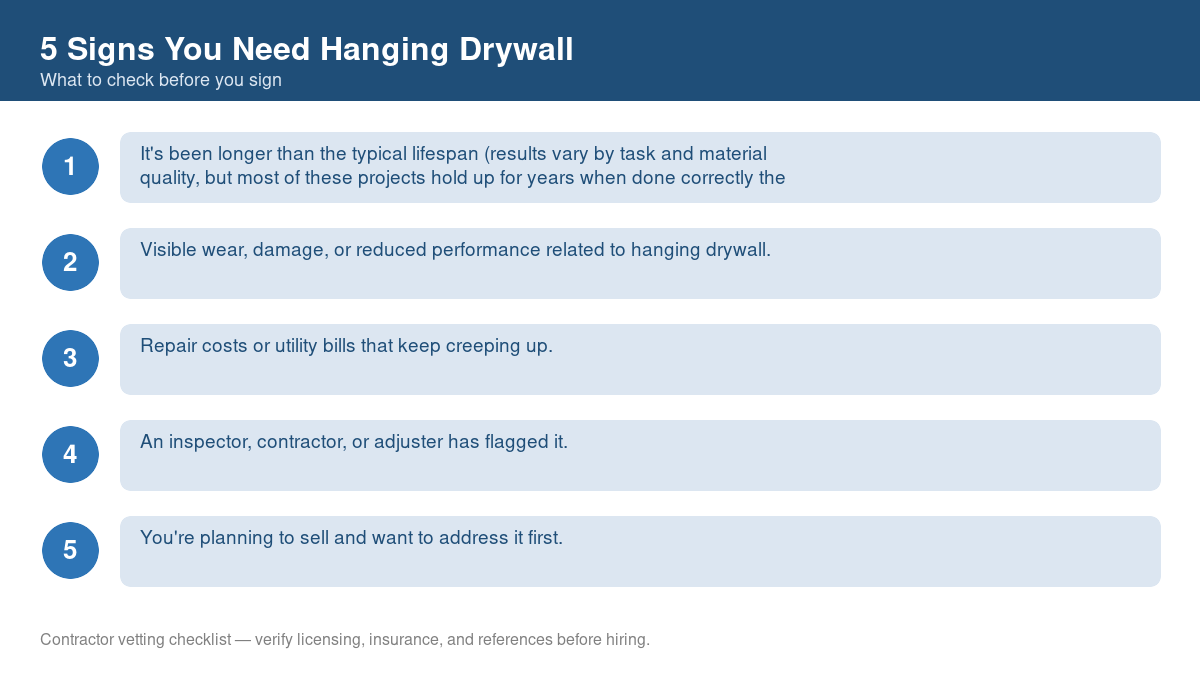
- Hanging drywall: $150–$500 for materials for an average room.
Cost Notes
These are planning benchmarks, not quotes. Your actual price depends on your home, your local labor market, and the specific contractor you hire. Most tasks in this category take a few hours to a weekend for a beginner, depending on the complexity of the specific project. Always get at least two or three written, itemized quotes before committing to any diy & tools project.
What Affects the Price
- Quality tier of tools/materials purchased (budget vs. mid-range vs. premium). Premium tools and materials cost more but often perform better and last longer than budget alternatives.
- Whether you already own basic tools or need to buy them for this task. A tool you already own is effectively free for this project, while a first-time purchase adds to the total cost.
- Size or scope of the specific task. Larger-scope tasks naturally use more material than small, contained repairs.
- Whether specialty tools need to be purchased or can be rented instead. Specialty tools needed only once are often cheaper to rent than to buy outright.
- Local material costs at hardware/home improvement stores. Prices vary between big-box stores, local hardware stores, and online retailers for the same materials.
- Time investment, which is free but real if you value your own hours. Your own time has real value, even though it isn't a cash cost. Factor that into any DIY-vs-hire decision.
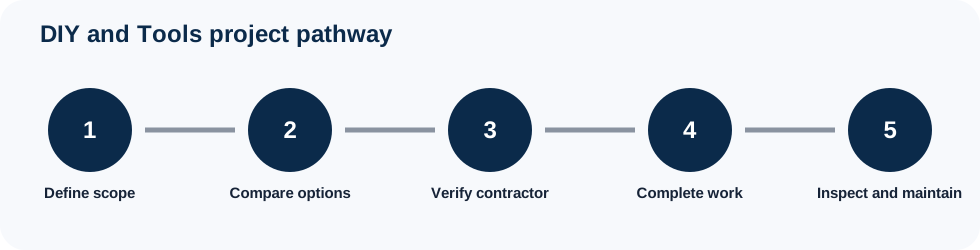
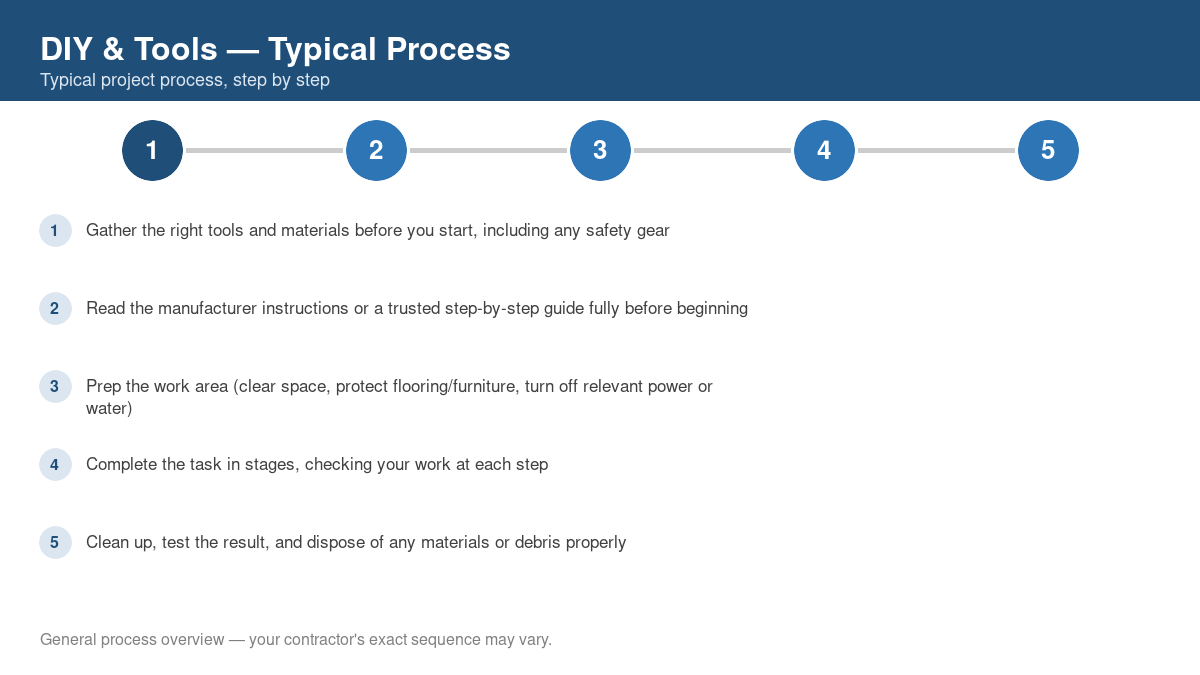
How the Process Works
- Gather the right tools and materials before you start, including any safety gear.
- Read the manufacturer instructions or a trusted step-by-step guide fully before beginning.
- Prep the work area (clear space, protect flooring/furniture, turn off relevant power or water).
- Complete the task in stages, checking your work at each step.
- Clean up, test the result, and dispose of any materials or debris properly.
How to Hire the Right Contractor
Hiring the right contractor matters as much as the work itself for diy & tools projects. Start by confirming licensing and insurance. Ask for proof directly, a verbal assurance. From there, request at least two or three written, itemized quotes so you're comparing scope and materials apples-to-apples, a bottom-line number.
Hiring Checklist
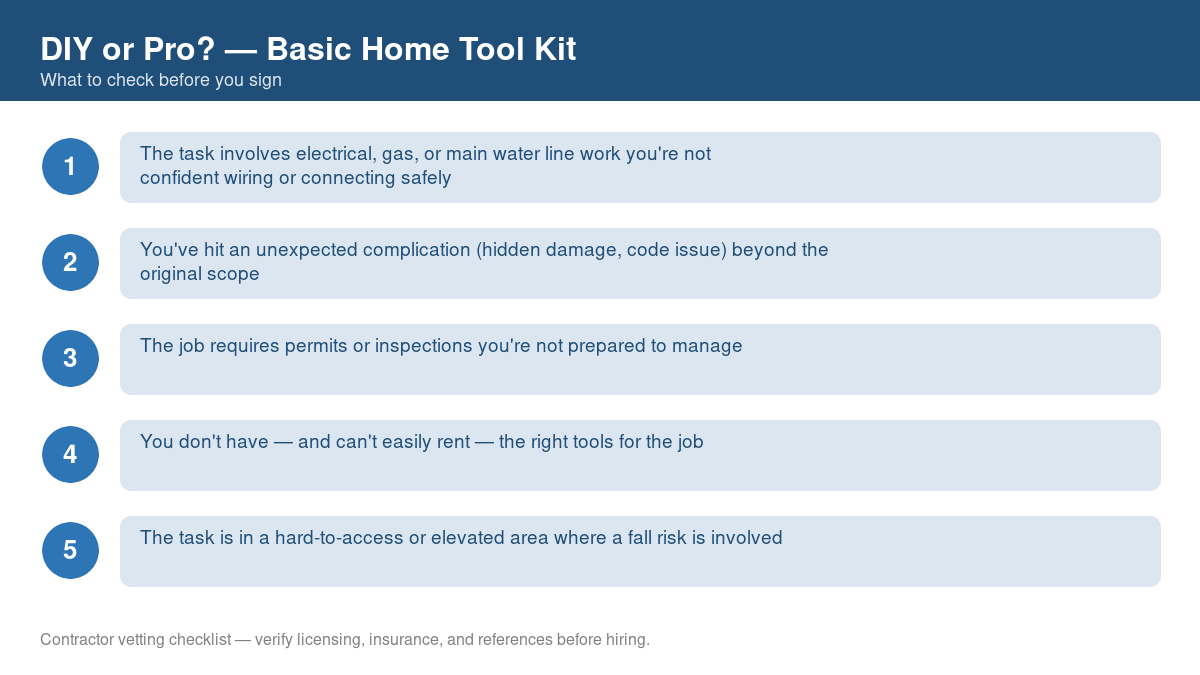
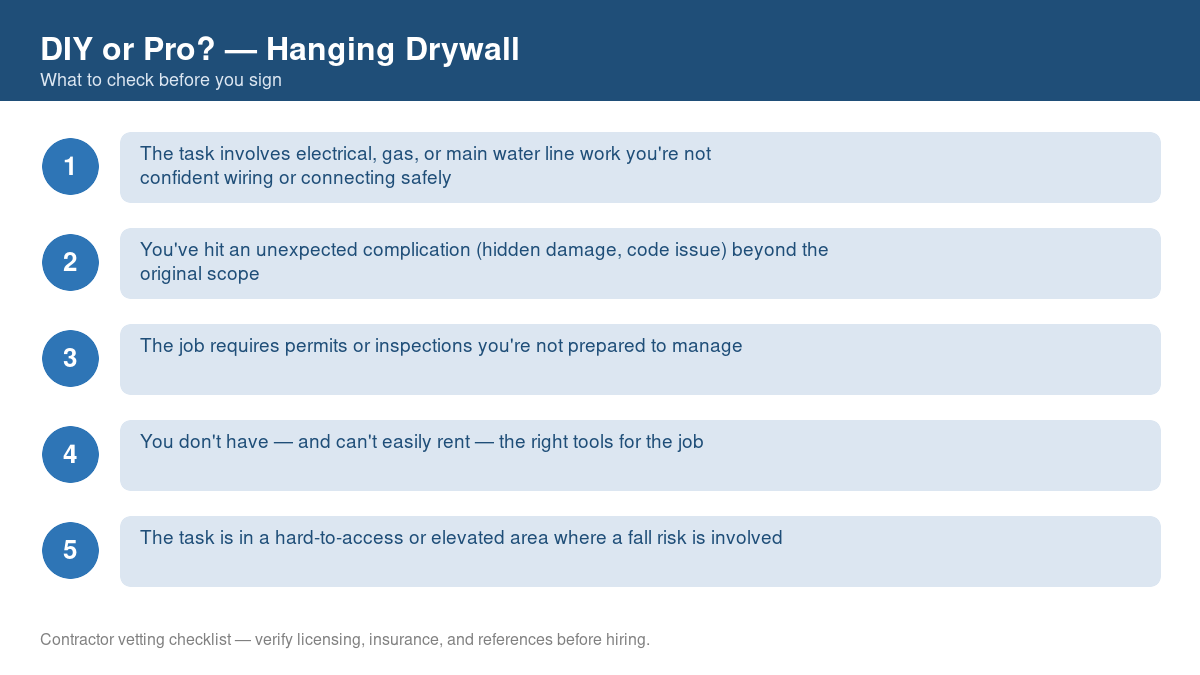
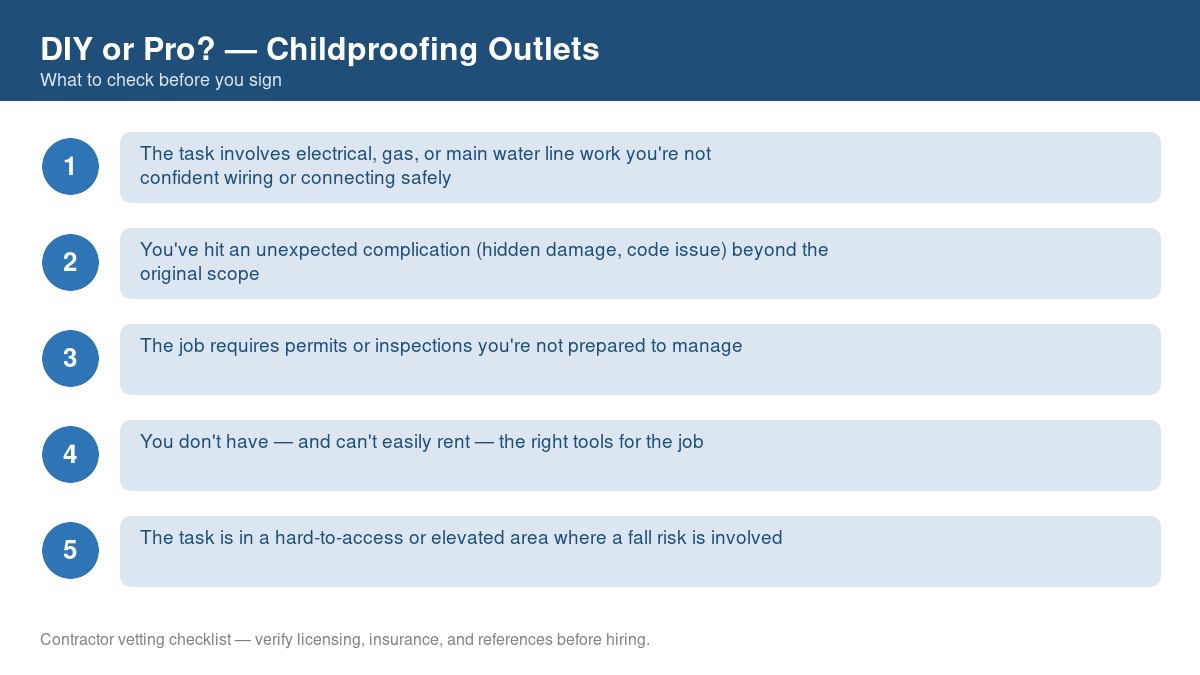
- The task involves electrical, gas, or main water line work you're not confident handling safely.
- You've hit an unexpected complication beyond the original scope of the task.
- The job requires permits or inspections you're not prepared to manage.
- You do not have the right tools for the job and cannot easily rent them.
- The task is in a hard-to-access or elevated area where a fall risk is involved.
Red Flags to Watch For
- Skipping the manufacturer instructions and relying on guesswork.
- Using the wrong tool or a lower-quality substitute that damages the material.
- Not turning off power or water supply before starting related work.
- Rushing the prep work, which is often what determines how the final result looks.
DIY vs. Hiring a Professional
Some diy & tools work is realistic for a confident, careful homeowner to tackle solo. Small repairs, cosmetic updates, and simple installations are often reasonable DIY candidates. Work that's code-regulated, involves specialized tools, or carries real safety risk (electrical, structural, gas, or major systems work) is generally better left to a licensed professional. When in doubt, a quick consultation with a contractor can tell you whether a project is realistically DIY-friendly before you buy materials and find out the hard way.
Best Time of Year to Start
Timing affects both price and availability for diy & tools projects. Spring and early summer tend to be the busiest. And priciest. Season for most exterior and remodeling work, since demand peaks alongside good weather. Scheduling non-emergency work in the fall or winter often means more contractor availability and more room to negotiate on price, though weather-dependent exterior work may need to wait for a suitable window regardless of season.
Common Problems to Watch For
- Specialty tools you didn't anticipate needing partway through the task.
- Redo costs if a first attempt doesn't go as planned and materials are wasted.
- Trip costs (time and gas) for a second hardware store run when you're missing something.
- Minor damage repair if a mistake affects surrounding surfaces or materials.
Why These DIY & Tools Problems Happen
Most costly diy & tools problems start small and compound if ignored. Keep an eye out for the signs above, and don't wait for a minor issue to become an expensive emergency repair. A quick inspection or consultation is inexpensive insurance compared to the cost of a bigger failure down the road.
Ways to reduce the cost
- Borrow or rent specialty tools you'll only use once instead of buying them outright.
- Buy mid-range tools from a reputable brand. Premium professional-grade tools rarely pay off for occasional use.
- Watch a trusted video tutorial before starting, which often reveals shortcuts and common pitfalls.
- Buy only the material quantity you need for the current task, with a small buffer, rather than overbuying.
Maintenance & Long-Term Care
Ask for written care instructions and warranty terms. Keep a record of inspections, maintenance, and repairs.
Upkeep Tips
- Inspect the completed work at the intervals recommended in the care instructions. Report damage or recurring problems promptly.
- Keep the invoice, warranty, permit records, and maintenance instructions together.
- Follow the product's maintenance instructions and check the warranty conditions.
- Address small problems as soon as you notice them rather than waiting for a bigger, more expensive failure.
Financing Your Project
If you borrow to pay for the work, include interest and fees in the budget. Compare repayment terms before choosing a loan.
Financing Options Compared
- Cash or savings: No loan interest, but the payment reduces the cash available for other expenses.
- Home equity loan or HELOC: Your home secures the debt. Compare interest rates, fees, and repayment terms.
- Personal loan: Check whether the loan is secured or unsecured, then compare the rate, fees, and total repayment cost.
- Contractor or manufacturer financing: Check the promotional period, fees, and interest charged if you do not repay the balance by the deadline.
Compare borrowing costs
Compare the interest rate, fees, repayment term, and total amount you will repay. A longer term can lower the monthly payment while increasing the total interest cost.
What a Complete Quote Should Include
- A detailed scope that identifies the work, quantities, and exclusions.
- Material brands, grades, and quantities, with substitutions agreed in writing.
- Who obtains any required permits and pays the fees.
- Cleanup and disposal work, including any separate charges.
- Deposit amount and later payments, with the work required for each payment.
- Written warranty terms, including coverage, exclusions, and duration for materials and labor.
Check insurance coverage
Ask for evidence of the contractor's insurance and confirm coverage with the insurer. Check whether workers' compensation coverage is required for the crew. Ask your own insurer whether the planned work affects your policy.
Long-Term Cost of Ownership
Include maintenance, repairs, and eventual replacement when comparing costs. Ask what upkeep the proposed materials or equipment need and which costs the warranty covers.
Ask each contractor for the maintenance schedule and expected service life of the proposed materials or equipment. Request the written product specifications and warranty terms.
Check the contractor's work history
Read recent reviews and check how the contractor handled complaints. Contact references for similar work completed recently. Ask how the contractor records changes, prices extra work, and resolves disputes. Put those procedures in the contract.
Common Contract Terms Explained
Check these terms when reading the contract. Ask the contractor to explain any wording that leaves the scope, payment, or completion requirements unclear.
Contract Terms Glossary
- Change order: A written change to the contract. Agree on the additional or reduced work, price, and schedule before approving it.
- Punch list: Unfinished work or defects recorded during the walkthrough. Agree on when the contractor will resolve each item.
- Lien waiver: A document that waives lien rights under specified conditions. Check which payment it covers and whether it is conditional or unconditional.
- Retainage: Part of a payment held until the contract's release conditions are met. Specify the amount and conditions in the contract.
- Substantial completion: The stage when the work can be used for its intended purpose. Check the contract for the definition and any payment or warranty dates tied to it.
Plan for disruption
Ask which rooms or services will be unavailable during the work and for how long. Confirm any planned utility interruptions, dust controls, and daily cleanup.
Keep children and pets away from the work area. If you will lose access to a kitchen, bathroom, or essential service, ask when it will be usable again and plan around that schedule.
Frequently Asked Questions
- ('How much does diy & tools work typically cost?', 'It varies significantly by project. See the pricing snapshot above for common diy & tools projects, ranging from simple repairs to full installations. Get a local, written quote for an exact number.')
- ('How long does diy & tools work usually take?', 'Most tasks in this category take a few hours to a weekend for a beginner, depending on the complexity of the specific project.')
- ('Do I need a permit for diy & tools work?', "Most tasks in this category don't require a permit, since they're small-scope maintenance or cosmetic work rather than structural changes.")
- ('How long does diy & tools work typically last?', 'Results vary by task and material quality, but most of these projects hold up for years when done correctly the first time.')
- ('How many quotes should I get before hiring a contractor?', 'Three is the general rule of thumb. Enough to spot outliers on price or scope without dragging the process out for weeks.')
- ('Can I DIY diy & tools work myself?', 'Some smaller-scope work is DIY-friendly for a careful homeowner, but code-regulated or safety-sensitive work is best left to a licensed professional. See the DIY vs. Pro section above.')
- ('Can I negotiate the price on diy & tools?', "Sometimes. Especially during a contractor's slower season. It's reasonable to ask, but be wary of a contractor who drops the price dramatically just to win the job; that can be a sign corners will be cut elsewhere.")
- ("What should I do if I'm unhappy with the finished work?", "Raise it with the contractor directly and in writing first. Reputable contractors will address legitimate issues. If that doesn't resolve it, your state's contractor licensing board is the next step.")
- ("How do I verify a contractor's license and insurance?", "Most states have an online license lookup tool through the state contractor licensing board. Ask for the license number and confirm it's active before signing anything.")
- ('Is it normal for a diy & tools quote to change after the initial visit?', 'A small adjustment after a closer inspection is normal, but a large jump is worth questioning. Ask exactly what changed and why.')
Project planning
Check the scope, site conditions, and local requirements before setting the budget and schedule.
Project delivery options compared
| Approach | Best suited to | Primary trade-off |
|---|---|---|
| DIY or owner-managed | Low-risk cosmetic work within the homeowner’s skill level | Owner assumes safety, quality, scheduling, and code risks |
| Specialty contractor | A clearly defined trade-specific scope | May require the homeowner to coordinate other trades |
| General contractor or design-build team | Complex projects involving several trades or structural changes | Higher management cost, with centralized coordination |
Typical project timeline
| Phase | Typical planning window |
|---|---|
| Assessment and scope | 1-3 days |
| Selections and written quote | 2-14 days |
| Permits and scheduling | Varies by location |
| Active project work | 1 day to several weeks |
| Inspection, cleanup, and handoff | 1-3 days |
Benefits and limitations
Potential benefits
- Improves function, safety, or appearance
- Can address deferred maintenance before it spreads
- Creates an opportunity to document warranties and future upkeep
Potential trade-offs
- Upfront cost may change when hidden conditions are found
- Work can disrupt normal use of the area
- Permits, inspections, and material lead times may affect scheduling
Project stages